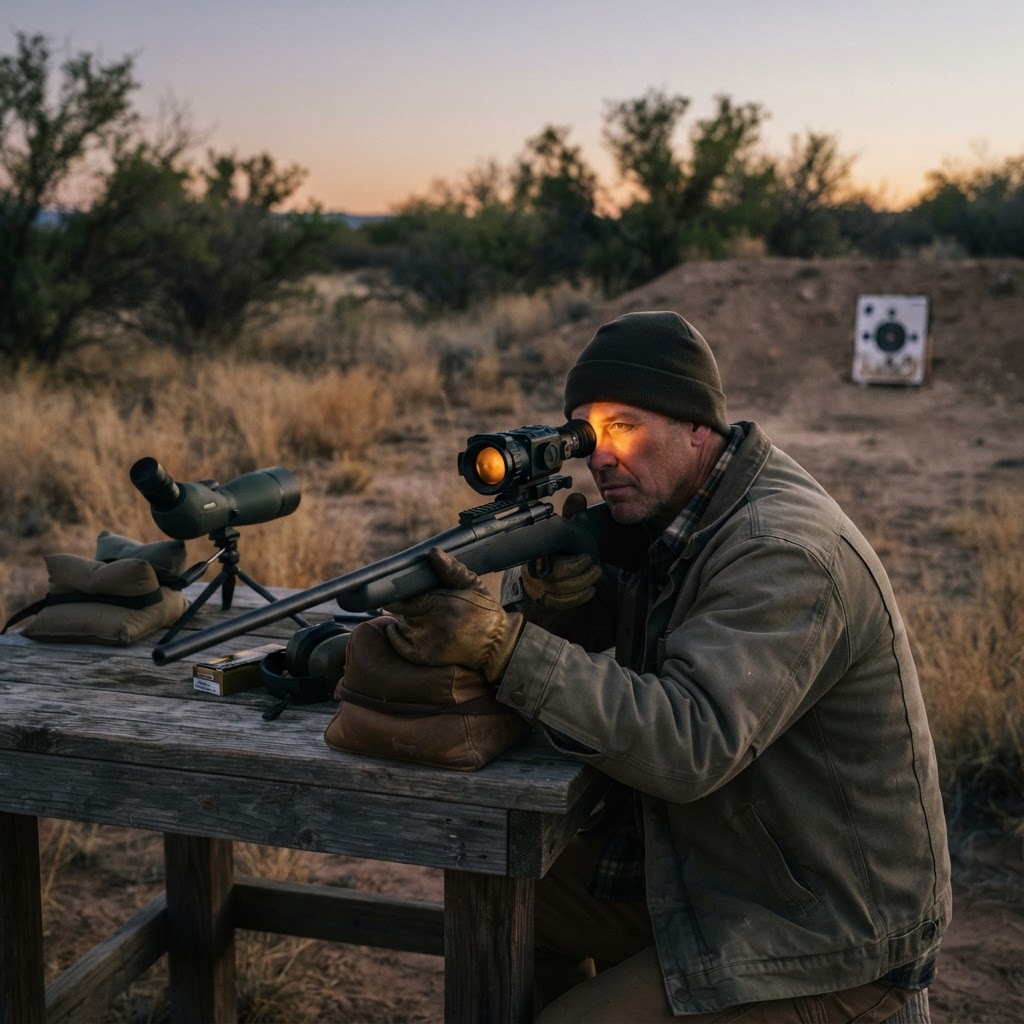

Understanding the Dedicated Thermal Optic
A dedicated thermal riflescope provides an integrated, purpose-built shooting system for night and adverse-condition hunting. Unlike clip-on thermal devices—which mount in front of existing glass optics and require precise optical axis alignment to prevent point-of-impact shift—a dedicated thermal riflescope bolts directly to your rifle's receiver. It pairs its thermal detector core directly with tailored ocular displays, native digital reticles, and internal ballistic profiles.
However, a thermal scope that has not been properly zeroed is little more than an expensive monocular. Achieving consistent, repeatable accuracy with thermal glass requires a different discipline than tuning a daylight scope. Digital reticles shift via software rather than physical mechanical erector turrets, focusing occurs across two independent optical planes, and microbolometer sensor cores require thermal stabilization before groups become meaningful.
Why Digital Zeroing Differs from Traditional Optics
Zeroing a standard daytime riflescope involves turning physical turrets that mechanically move glass lenses or internal reticle assemblies. Digital thermal zeroing operates under entirely different mechanics:
- Digital Reticle Shifts (Pixel-Based Adjustments): Rather than mechanical clicks moving an internal erector tube, thermal scopes shift the reticle across the display matrix using digital coordinates (X and Y axes). While many systems mimic "clicks" (translating movements to fractional MOA or MRAD values based on magnification or sensor resolution), the position only updates within the firmware once confirmed and stored into system memory.
- Dual-Plane Focusing: You must focus two independent optical elements. The ocular diopter focuses your eye on the digital display and reticle lines; the objective focus ring sharpens the infrared thermal scene at the target distance. If your diopter is unfocused, your eye perceives reticle swim and inconsistent placement.
- Thermal Sensor Warm-Up and Calibration: A microbolometer detector undergoes thermal stabilization when powered on. As the core warms up to operating equilibrium, internal sensor corrections occur. Taking zeroing shots within the first sixty seconds of powering on cold electronics can produce apparent reticle drift as the internal thermal baseline shifts. Regular Non-Uniformity Correction (NUC or calibration shuttering) is essential to remove fixed-pattern noise before evaluating group placement.
Before Zeroing: Mounting and Hardware Torque
A significant portion of suspected thermal zero shifts stem from mount movement rather than optic or firmware failure. Thermal scopes feature internal batteries, objective lenses, and germanium optical elements that make them substantially heavier than lightweight daytime optics, subjecting mounts to higher inertia under firearm recoil.
- Verify Rail Alignment: Ensure your Picatinny rail is properly torqued and pinned to the receiver.
- Avoid Bridged Rails: Mount the optic entirely on the receiver rail. Never bridge the scope mount across the junction between a monolithic upper receiver and a free-floating handguard.
- Use Proper Torque Specifications: Secure mount crossbolts, ring bases, and ring caps to the manufacturer's specified inch-pound torque ratings using an accurate torque driver. Over-torquing can damage internal electronic housings, while under-torquing allows the optic to slip under recoil.
- Threadlocker Cure Time: If liquid threadlocker (such as medium-strength blue threadlocker) is applied to screws, allow it to fully cure for 24 hours prior to live-fire testing.
Target Selection: Thermal Contrast in Practice
Standard paper targets are invisible on a thermal sensor if the paper, bullseye, and backer share identical temperatures. To build an effective thermal zeroing target:
- Adhesive Hand Warmers or Heat Targets: Attach an activated disposable hand warmer packet or dedicated thermal target patch to the center of a cardboard or paper backer. To create a precise aiming mark, tape over the edges of the heat pack with foil tape or cardboard to leave a crisp, small 1-inch square bullseye.
- Cold / Passive Contrast: Foil tape or metallic aluminum tape taped to cardboard naturally reflects the cold temperature of the open sky when angled slightly upward, presenting a cold signature without needing battery or chemical heat packs.
- Avoid Shifting Signatures: Avoid excessively large heat sources or heated rocks. As heat bleeds into surrounding cardboard or rocks cool down, the apparent center shifts on high-gain palettes, distorting your point of aim.
The Zeroing Process: From Bore-Sight to Field Confirmation
1. Mechanical or Laser Bore-Sighting (25 Yards)
Begin at 25 yards with a generous backer. Remove your bolt to align the bore visually with the target's center, or insert a quality laser bore-sighter. Power on your thermal optic, access the menu, and coarse-align your digital reticle crosshairs to match the bore axis or laser dot. Bore-sighting guarantees your initial live round hits paper, preventing wasted ammunition at extended range.
2. Live-Fire Initial Evaluation
Place your thermal target at 25 or 50 yards. Fire an initial evaluation shot from a steady rest. Access your zeroing menu, adjust the X (windage) and Y (elevation) reticle coordinates until the reticle meets the point of impact, and save the profile.
3. Transition to Primary Zero Distance
Move your target out to your operational zeroing distance (typically 100 yards/meters for standard hunting cartridges to maximize point-blank vital coverage, or 50 yards for specialized rimfire and short-range night setups). Allow the barrel to cool between shots to avoid heat mirage over the barrel shroud, which can blur the thermal image.
4. Group Shooting vs. One-Shot / Freeze Zeroing
- Standard 3-Round Groups: Fire three consistent shots at the thermal bullseye using your hunting ammunition. Measure the geometric center of the group, open the zeroing menu, and adjust the reticle coordinates to the group center rather than chasing single fliers.
- Image Freeze / One-Shot Zero: Many modern thermal scopes (such as those from ATN and Pulsar) feature a screen freeze function. Fire a shot (or the final shot of a group), activate "Freeze" to capture the image frame on screen, and steer the digital reticle from the original point of aim directly onto the bullet hole or group cluster. Confirm and save.
5. Final Confirmation and Profile Management
Fire a final three-round confirmation group to ensure the reticle and point of impact coincide. Always confirm that your zero profile is explicitly saved. Thermal scopes allow multiple zero profiles for different rifles, barrel lengths, or ammunition types; document your rifle, caliber, bullet weight, zero distance, and ambient temperature in a field log.
Five Pitfalls That Cause Thermal Zero Errors
- Zeroing Before the Core Stabilizes: Firing groups immediately after power-on while internal electronics are cold-soaking leads to shifting baseline calibrations. Always give the unit 5–10 minutes to reach operating temperature.
- Skipping Manual NUC Calibrations: If detector non-uniformities form, fixed-pattern noise can distort the edge of your thermal target. Trigger a manual calibration cycle prior to firing evaluation groups.
- Failing to Save or Selecting the Wrong Profile: Adjusting X/Y coordinates on screen without confirming the menu save command will cause the reticle to snap back to default when powered off. Likewise, switching rifles without checking the active profile leads to misses.
- Diopter Inattention: Focusing the objective lens while leaving the rear eyepiece diopter blurry causes reticle placement inconsistency, reading as wandering groups on paper.
- Low Battery Fluctuations: Attempting to zero on a nearly depleted battery can lead to intermittent power states, display brightness changes, or spontaneous shutdown mid-save.
Operational Field Protocol
- Ambient Acclimation: When moving from a warm vehicle into freezing night temperatures (or vice versa), allow the rifle and scope assembly to equalize with outdoor ambient temperatures before hunting.
- Base Magnification Scanning: Thermal digital zoom crops sensor pixels, narrowing your field of view and coarsening resolution. Scan broad terrain at base optical magnification, engaging digital zoom only after detecting a heat signature to confirm target identity.
- Positive Target Identification: Thermal imaging detects heat contrast, not color or visual bone details. Livestock, hunting dogs, and non-target wildlife can display similar thermal outlines at distance. Observe the subject through multiple natural movement cycles (feeding posture, tail flicks, gait) to confirm species, and verify downrange backstops before disengaging the safety.
- Palette Selection: Settle on White Hot or Black Hot for uniform distance scanning. Constant toggling between high-contrast color palettes (such as Red Hot or Rainbow) impairs eye adaptation in complete darkness.
Maintenance and Care
- Lens Care: Thermal objective lenses use delicate germanium crystal elements coated with anti-reflective materials. Never clean them with shirt fabric, paper towels, or abrasive solvents. Use an optical air bulb to clear loose dust, followed by a dedicated lens brush and clean microfiber cloth with specialized optical cleaning solution.
- Condensation Prevention: When moving a freezing optic into a warm cabin or vehicle, do not seal it immediately in an airtight hard case. Allow the optic to acclimate to room temperature to prevent internal condensation from trapping moisture against electrical ports.
- Hardware Check: Periodically inspect mount torque and verify battery contact caps are free of debris or oxidation.


